
Using a pizza oven for the first time!
Congratulations! You’ve finally joined the elite ranks of backyard chefs who bring traditional, timeless cooking right into their own homes with a wood-fired pizza oven. You’re truly one-of-a-kind, and you’re probably dying to get started with your awesome new oven.
However, you might be scratching your head a bit about where to actually begin. No problem; your first foray into wood-fired cooking can be a confusing time, but with these tips and tricks gleaned by countless generations of home chefs before you, you’ll be churning out delicious wood-fired pizza in no time.
As former novices ourselves, we didn't immediately have all the answers about pizza ovens despite owning a store. We endured our fair share of mishaps and acquired wisdom along the way, all fueled by our love for scrumptious cuisine.
Our goal was to inspire others with our artisanal ovens and mouth-watering recipes, which prompted us to reveal some of our top advice for those trying out their own wood-fired oven for the first time.
The best way to survive the learning curve is to find a recipe you like and then practice until you get the hang of it. A great first pizza to try is an easy and delicious traditional Neapolitan-style pizza, which is a classic Italian favorite.
Here’s a guide along with tips on how to cook the perfect pizza in your wood-fired oven.
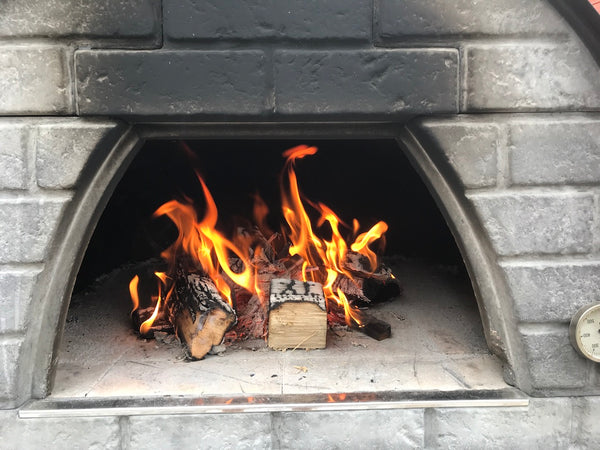
1. Use quality wood
Not all logs are created equal - use only high-grade, dry hardwood that you know burns slowly and cleanly. The best woods for a pizza oven include maple, oak, hickory, ash, beech or fruit woods like cherry or apple. Avoid softwoods like pine and spruce - they won't last long and could create a lot of smoke.
Start your fire with small pieces of kindling and use really dry wood; it will decrease the chances of a smoky fire billowing out the front of your oven when cooking. While some smoke can be a welcome addition, since it can impart unique flavors to food, there's no need to use "green" wood to achieve this effect.
Generally speaking, smokey flavor can be accomplished with thoroughly dry wood and a little TLC to ensure a small blaze remains inside the embers. You can also try experimenting with different wood types, like cherry, to test how different smoke flavors might interact with your recipes.
Typically, you won't cook pizzas long enough to taste the full effect of the wood flavor. Therefore, we usually save our "flavored" wood like apple and cherry for nights when we are cooking dishes that will benefit more from it.
When firing your wood fire pizza oven up, use small pieces of kindling to get a blaze going before switching to medium-sized cut logs. For best results, use dry hardwood in your outdoor pizza oven to get the optimum temperature without lots of smoke.
2. Fire up the oven
Your wood-burning oven will need a bit of time to preheat before you can start cooking, though this duration is considerably shorter than what you might expect in a regular, in-home kitchen oven. Depending on how big and well-insulated your oven is, preheating can take anywhere between 20 to 60 minutes. A brick oven will take longer to heat than a stainless steel oven.
Gas ovens and wood burning ovens will heat differently. Gas ovens heat the dome quickly but it takes the floor a bit longer to heat. Wood burning ovens take longer to heat the dome, but the cooking floor can heat to much higher temperatures due to the wood burning directly on it.
Light the fire in your wood burning pizza oven earlier than you think is necessary. That way you won't be stressing over getting the oven up to temperature when everyone is ready to cook.
We use a Maximus Prime wood burning oven which has a cooking space of 34" x 34" so it's a large area to heat. We typically light our fire 45 minutes before we want to be cooking.
3. Get it hot (but not too hot)
When cooking pizzas, we get the temperature of the dome between 700° and 800° Fahrenheit. The floor is usually around 650°. While some people want a 90-second pizza cooked at 900°, it isn't a goal of mine when friends and family are over.
Cooking at those high temperatures mean you must constantly pay attention to the cooking pizza so it doesn't burn. We prefer cooking at lower temperatures which means our pizzas cook closer to 2-3 minutes. And, novices can cook their own pizzas without worrying as much about a burnt pizza.

You won't need a pizza stone or a baking stone when cooking in an outdoor pizza oven. You will cook directly on the oven floor so you want to have the right temperature on the cooking surface.
To get high temperatures on the oven floor, you can spread out a bed of hot embers where the pizzas will cook before pushing the fire to the back of the oven in preparation for cooking.
We recommend experimenting with your oven during the first few months. You will soon learn how long it takes your oven to reach the desired temperature.
4. Prepare your dough
The best foundation for good pizza is a good dough. There are plenty of options, including purchasing pre-made dough, but our personal favorite is to create your own! It’s easier than you might think; most of the time you spend making dough is actually just waiting for it to rise.
For a simple pizza dough recipe, you can follow along with this one from our recipe blog posts; we recommend using a fine bread flour, like the famed Caputo 00, which creates a remarkable Neopolitan-style crust that rivals what you’ll find in renowned pizzerias around the globe.
Half the fun of making your own pizza is adding personal twists, which you can start doing at the dough phase. Try creative additions like herbs, an extra dash of olive oil, or recipe variations like focaccia dough. The sky is the limit when it comes to pizza bases!
Once your dough has risen, stretch it out into a roughly 12-14” in diameter circle with your hands, a rolling pin, and some tender love and care. Coat your hands in a dusting of flour while you do this; we’ll explain why in a bit.

5. Add your sauce and toppings
While the dough is a pizza’s foundation, toppings are a pizza’s centerpiece. You can stay within the time-tested lines of traditions and craft a delicious Margherita, or get experimental and try pizza toppings as diverse as banana peppers, tofu, chicken, jackfruit, avocado, kimchi, or the highly controversial pineapple.
Pizza sauce is usually based on tomatoes, with a traditional recipe of crushed tomatoes, olive oil, and sea salt usually does the trick. However, there’s no constraint on creativity when it comes to sauce, either. Barbecue sauce, alfredo, beet sauce, or even pesto are all perfectly suited options to your homemade pizza.
Spread your ingredients (sauce first, of course!) over the top of your finished dough, arranging them how you’d like: Pretty shapes, evenly spread, or tossed anarchy are all fine choices. After your ingredient ensemble is complete, it’s time for the real show to start!
6. Get it crispy!
For pizza with a crispy crust and perfectly cooked toppings, high heat is required. This is where wood-fired ovens shine since they can withstand temperatures far greater than those of regular conventional ovens.
A good Margherita needs an oven floor temperature of about 650° Fahrenheit. If the temperature is lower than this, the dough may remain soft and sticky and take longer to brown, making it harder to rotate the pizza and increasing the cook time.

While the thermometer on most home pizza ovens is sufficient for getting a rough idea about how hot things are inside, some extra peace of mind can be found by using an infrared temperature gun. An infrared thermometer will provide more reliable results of how hot the inside of a pizza oven is and how hot the floor of the oven is with better precision than the temperature gauge located on the front of the oven.
How long it takes to cook your pizza will depend upon your oven’s internal temperature, and can vary from as long as 4 minutes to as quickly as just 90 seconds! The cooking time will depend on the temperature of your oven.
7. Ashes to ashes
When things burn, they leave memories behind (ask us how we know). In the same vein, pizza ovens are no different.
After every bake, we grab a good, clean brush and sweep any leftover ashes off the floor. Not only does this prevent any hitchhikers from making their way onto my freshly-baked slices, but it also helps extend the life of my oven by preventing buildup and potential damage to its interior.
And every once in a while, we give our oven a thorough cleaning to pick up anything missed during the pre-bake sweeps. Our favorite tool is the ash vacuum which can pick up and hold ash unlike a conventional vacuum cleaner.
Periodically, we'll vacuum the entire oven to rest assured that no old ashes will be making a reappearance on my next bake. A little extra attention goes a long way in keeping the oven running and my pies tasting delicious!
8. Flour is power
To avoid any mishaps such as the dough sticking to the peel or the pizza falling onto the ground, it is advisable to use a generous amount of flour on the pizza peel before placing the dough on it. This will help reduce the friction and allow for a smooth transfer of the pizza onto the oven.
We've found that semolina flour works well on the pizza peel. This is because it has a coarser texture, so it won't stick to the dough and form lumps. Plus, its higher heat-resistant properties help it withstand the heat of an oven without burning.
It's amazing how much difference a small amount of flour can make when transferring your pizza from the peel to the oven. So, don't be afraid to be generous with it – flour really is power! You'll never have an unsuccessful pizza launch again.
9. The key is the peel
Remember the flour that went on your pizza dough? This is where it becomes important. We don’t advise throwing a raw pizza into your oven with your bare hands, so a trusty pizza peel will be a valuable investment into your outdoor baking arsenal.
A Pizza peel is a flat, wide tool that helps you move pizza pies around. Some pizza peels are better designed to transfer a pizza from the countertop to your pizza oven floor while others are better for turning the pizza while it's cooking in the oven.

The best pizza peel should be large enough for the delicious pizzas you are creating and have a handle long enough to protect your hands from intense heat. Metal pizza peels are essential tools when baking tasty pizzas and usually, we have several in use during a pizza party.
Since dough is a bit sticky, you’ll need something to keep it moving freely on the peel. Another sprinkling of flour on your pizza peel will keep your pizza from clinging to the peel, which can result in some tragic consequences due to its hampered momentum, like pizza on your patio’s concrete.
Using a metal peel can take a bit of practice, and some hand-eye coordination, so our advice is to make sure your peel is a bit larger than the pizza itself in order to give yourself some room for error.
When placing your pizza in the oven, slowly move the peel into the oven, and then slide your pizza off the floured surface of the peel in a quick forward and backwards motion.
We've found that it's better to add sauce and toppings conservatively so the dough doesn't get soggy before cooking. If you have multiple people making pizzas, have them wait to make their pizza until right before it will go in the oven. This will prevent sogginess and makes it easier to get the uncooked pizza off the peel when putting in the oven.
10. Why is my pizza not cooked on the bottom?
There are several possible causes that could lead to your pizza being burnt on the top while undercooked on the bottom. The most common cause is improper oven temperature. If the oven is set too high, the top of the pizza will cook too quickly and burn before the bottom has had a chance to cook properly. Make sure that you carefully adjust the temperature of your oven so that the pizza will cook evenly.
Second, if using a conventional oven, you may also need to adjust the rack placement in your oven so that the pizza is closer to the heat source. If you are using an outdoor pizza oven, make sure the cooking surface has been preheated enough before cooking.
Lastly, too much topping may also prevent the bottom of the pizza from crisping correctly. Try using a lighter hand when adding ingredients and check your pizza sooner if it is overloaded.
11. Turn or burn!
Evenly-cooked pizza takes a little bit of effort, requiring some turning inside the oven to ensure the edges receive equal amounts of crisping. Depending on the temperature of your oven, you’ll need to keep a close eye while your pizza cooks and practice a bit of diligence. For example, your pizza may cook unevenly inside an oven with its fire to one side, necessitating the use of a turning peel to keep your pie rotating inside the oven.
We’re big fans of a pizza popper/turner because of its masterful design and ease of use. This nifty tool allows you to give your pizza occasional rotation inside the oven until its edges are a consistent golden brown. How long it takes to cook pizza in your oven can depend on the stability of your oven’s temperature and the dough you’re using.
12. Less is more
Although we can cook four 12" pizzas at once in our pizza oven, we typically choose to make smaller pizzas ranging from 6-10" to allow everyone to create their own unique flavor combinations. Therefore, we usually only cook two pizzas at a time so everyone can cook their own pizza.
By making smaller pizzas, we can host a pizza party that allows our friends and family to make their own personalized pizzas with sauces, cheeses, toppings, and more. This way, guests with dietary restrictions can also participate, and it can turn into a fun event for everyone to enjoy.
Try making pizzas that are approximately 8 inches in diameter. This size typically satisfies one person, but they can always have another pizza ready in minutes!
13. What goes in must come out
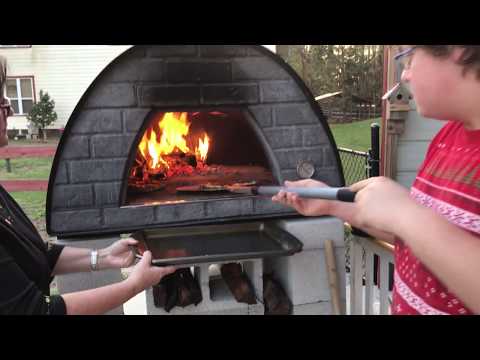
After your pizza has cooked to a delicious, golden brown crisp, you’ll need to take it out of the oven. You’ll need your peel once again, this time sliding it underneath your pizza and then lifting it out of the oven. Here’s where a steady hand is key, to avoid an errant pizza deciding now is the time to spread its wings and fly.
Here's an example showing a pizza peel used to remove the pizza from the pizza oven:
If you think the opportunity to add flavor has come and gone, think again! Even after your pizza comes out of the oven, you can give it even more creative twists, garnishment, and flavor. Try adding things like crushed or chopped basil, balsamic, red pepper, or grated parmesan for an extra boost.
Once the final touches have been added, and your pizza has cooled for a minute or two (it will be very, very hot!) all that’s left is for you to slice it up and serve it! Pizza makes a great standalone meal by itself, but for larger groups, the inclusion of a side dish or dessert makes it into an event worth remembering.
The best part? You can cook all kinds of other food in your oven, not just pizza. Try serving up your pies with roasted vegetables, focaccia bread, or even peach cobbler for dessert, all of which cook up amazingly well in an outdoor oven. Many of these dishes can be cooked at lower temperatures while your oven is cooling down after pizza making.
14. Experiment, experiment, experiment!
We've been using our Maximus Prime pizza oven for over 6 years and still find new recipes to cook. If you're looking for something new, try experimenting - from different ingredients to different cooking techniques. We've had some great successes and some funny failures, but it's been a great way to learn and find out what works!
You can make pizza using various ingredients from your pantry or fridge. Even if your attempt doesn't go as planned, the experience will help you improve your pizza-making and culinary skills in the long run.
Also, every pizza oven is different. We've found that a technique that works for one style oven doesn't work as well for our oven. Cooking in a wood fired oven is more of an art than a science. So, don't be afraid to experiment and see what works best for your oven.
Cooking in your very own wood-fired oven is a skill that takes some effort to master, but with a little dedication and a whole lot of love, you’ll quickly learn the ropes and be on the way to wood oven pizza mastery. In the following video, Jeff gives a step-by-step guide on how to use wood fired oven tools to prepare the fire and oven for his Margherita pizza.
The Margherita pizza is the oldest pizza recipe known to history, with a name honoring the Queen of Savoy and a tradition that dates back to at least the 1800s. Like most timeless classics, there is a reason it’s stuck around so long. Enticing flavors of marinara, mozzarella, and basil make this pizza a real treat, and we’re very proud to offer you the video instructions that show you how to make pizza Margherita in your own wood-fired oven!
You'll also get great tips for using a Pizza Peel Tool Kit.
With these tips in mind, you should have no problem mastering the art of pizza-making with your oven. You'll be ready to host a delicious pizza night in no time! So, invite your friends and family over, fire up the oven, and get ready to flip your pizzas onto the oven. Bon Appétit!
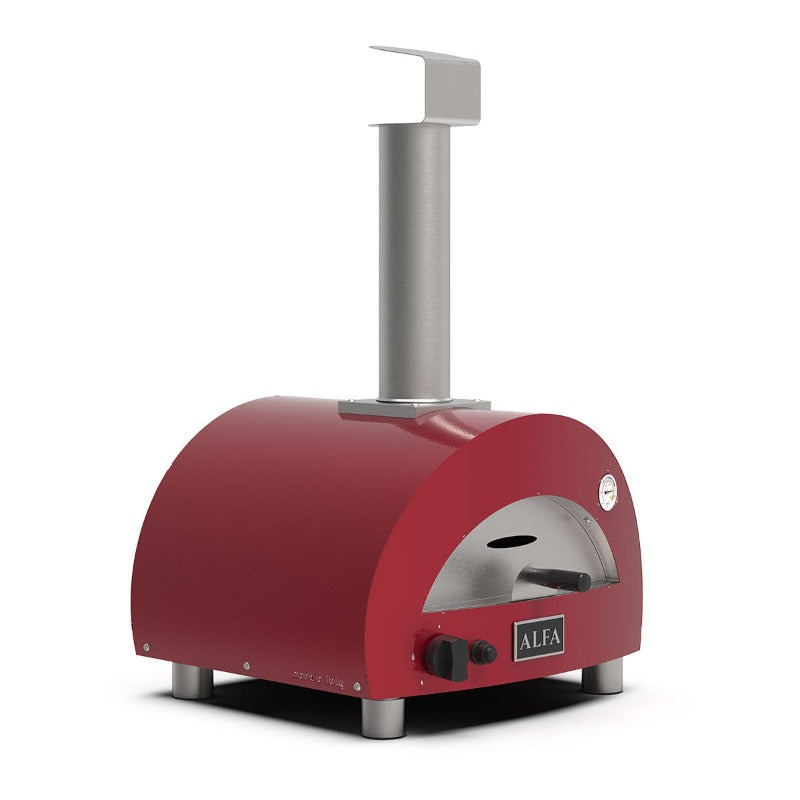
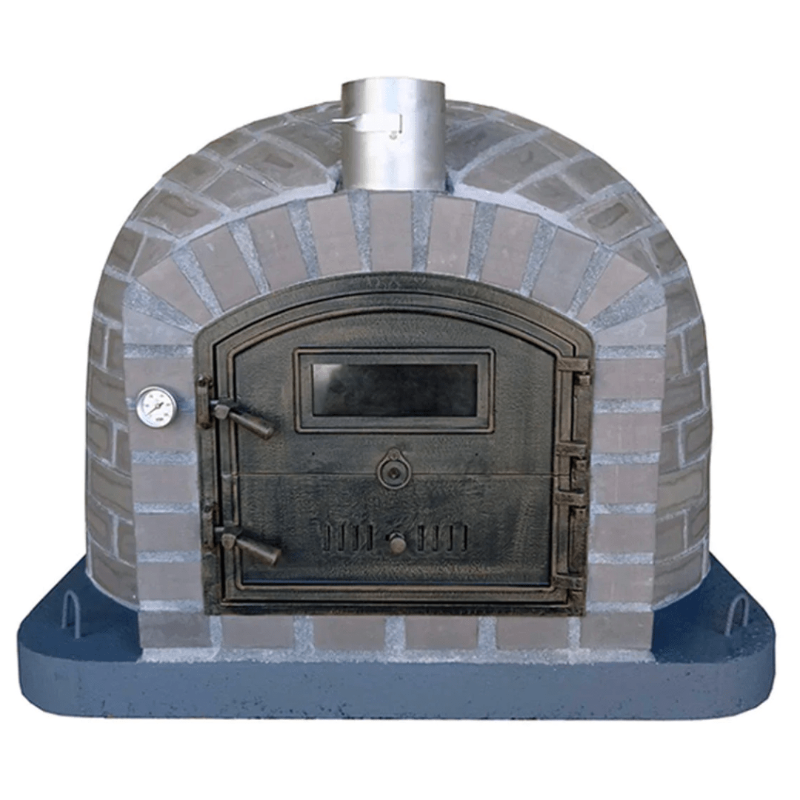
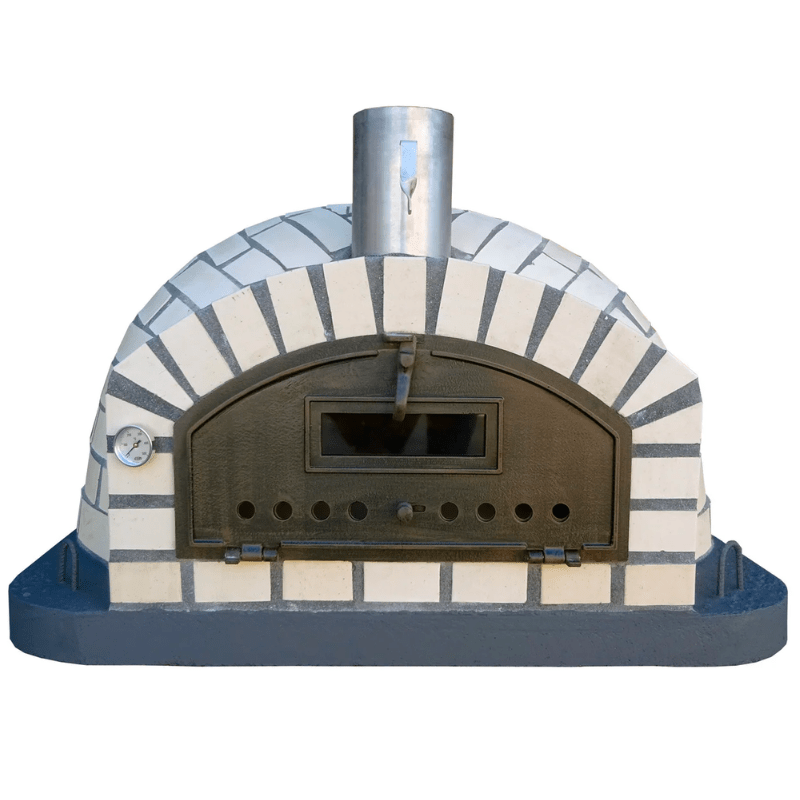
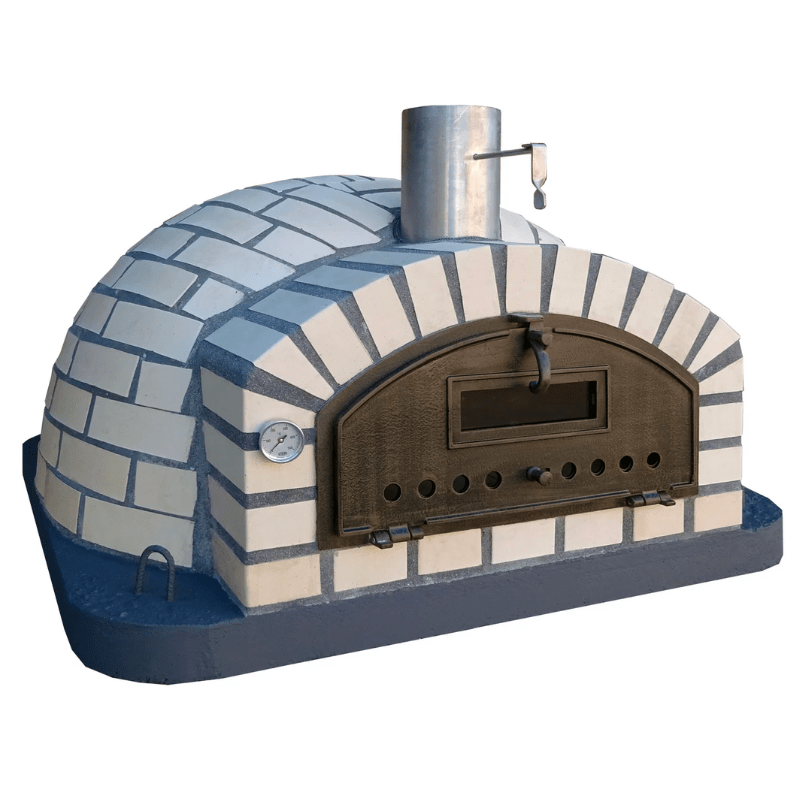
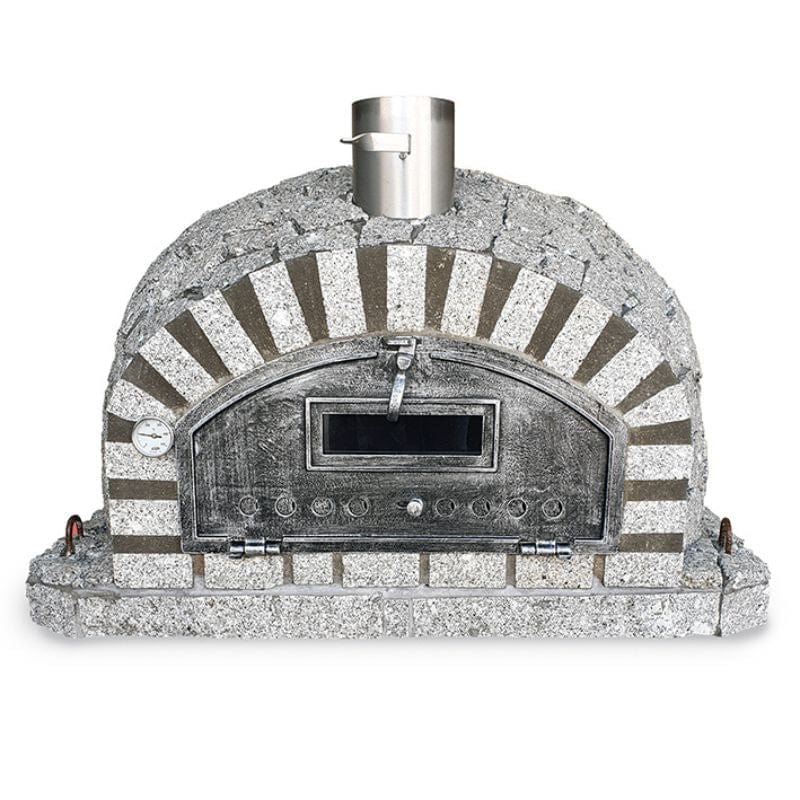
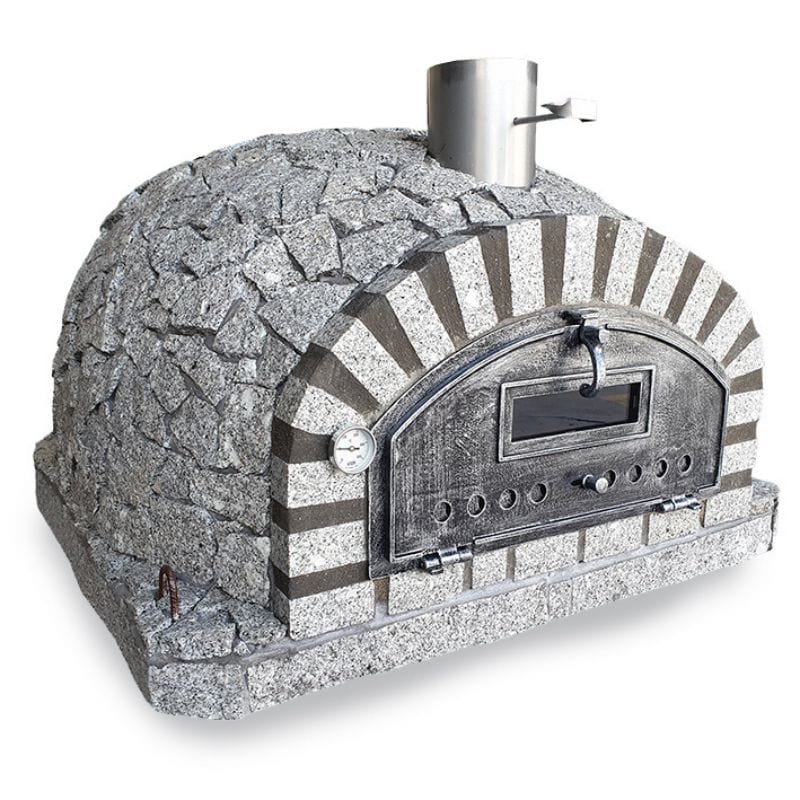
If you don’t have a wood-fired oven of your own, and you’re feeling inspired, check out our full collection of wood-fired residential ovens.
If you need assistance, shoot us an email or give us a call; we’d be more than happy to show you what your own outdoor pizza oven can do for you and your family!
Related Articles