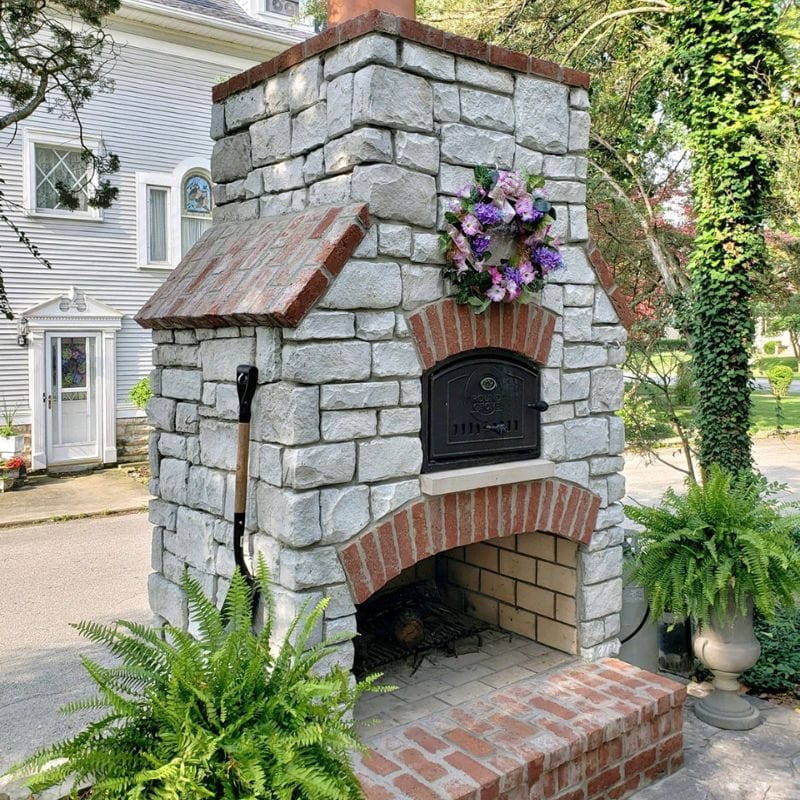
Let’s be honest - few things deflate enthusiasm faster than flipping a switch and hearing nothing. You have the smell of fresh dough ready to rise, the sauce simmering like something out of an Ottolenghi recipe book... and yet, silence.
Before you even think about uncoiling a cable, here’s a crucial note: working with mains electricity carries serious risks. This guide is intended to help you understand the process and make informed decisions, but any fixed outdoor electrical wiring should be installed or checked by a qualified electrician, following local electrical codes such as BS 7671 (UK) or the National Electrical Code (US). Treat this as your roadmap, not your license to bypass safety.
That’s why before even uncoiling a cable, you need to know exactly what you’re working with.

Where to start:
1. Find the rating plate.
Look for a small metal or printed label on the back, side, or underside of your pizza oven.
It lists key details like:
- Power (in watts or kilowatts, e.g., 3,000 W or 6 kW)
- Current (in amps, e.g., 13 A, 16 A, 32 A)
- Voltage (usually 230 V)
- Whether it’s single-phase or three-phase
2. Use the basic formula:
Current (A) = Power (W) ÷ Voltage (V)
Example:
- 3,000 W ÷ 230 V = 13 A
- 6,000 W ÷ 230 V = 26 A
3. Decide what your oven needs:
- Up to 13 A (≈3 kW): Can usually run from a standard plug, but it’s right at the limit - use a quality socket and RCD protection.
- Over 13 A (above ≈3 kW): Needs a dedicated circuit installed by a qualified electrician, with its own MCB (breaker) and RCD for safety.
4. Choose the right cable (for planning only):
- Up to 3 kW → 2.5 mm² armoured cable
- 3–6 kW → 4 mm² armoured cable
Always confirm cable size and breaker rating with an electrician before installation.
5. Never use an extension leadfor a permanent outdoor oven. It’s unsafe and can cause overheating or tripped breakers.
Tools and Equipment You Need for Wiring an Outdoor Pizza Oven

Safety Reminder: These instructions are for understanding and planning only. Any work on a fixed electrical installation should be carried out or checked by a qualified electrician following local electrical codes. Always isolate power before working on any wiring.
Essential Tools and Materials
- Wire Cutters (Insulated): Use professional-grade electrical cutters rated to 1,000 V. They’ll give clean cuts on copper wire and protect you from accidental shocks.
- Voltage Tester or Multimeter: This is your safety check before touching any wire. Make sure it’s rated at least CAT III 600 V. Always confirm a circuit is dead before working on it.
- Wire Stripper: Choose one with adjustable depth so you can remove insulation cleanly without damaging the copper underneath.
- Outdoor-Rated Junction Box (IP65 or IP66): This box protects wire connections from rain and dust. Go for UV-resistant polycarbonate, not cheap plastic that cracks over time.
- Armoured Cable (SWA – BS 5467 Copper Core): This is the main cable that carries power outdoors. The steel armor protects it from weather, animals, and garden tools. It handles outdoor conditions far better than standard cable.
- Cable Glands and Cleats: Use glands (20 mm or 25 mm) to secure cables entering boxes, and cleats every 30–40 cm to keep runs tidy and protected.
- RCD-Protected Spur or Consumer Unit: An RCD (Residual Current Device) will shut off power instantly if there’s a fault - it’s an essential life-saving safety device.
- Self-Amalgamating Tape: Use this to seal outdoor joints. It creates a waterproof, weather-resistant layer around cables and glands.
Pro Tip: Apply a small amount of cable lubricant when pulling long cable runs through conduit - it reduces friction and prevents cable damage.
Planning the Power Route for Your Outdoor Pizza Oven

Proper planning keeps your system safe and saves time later.
-
Plan the route first
Walk the path from your house’s power source to the oven. Note any obstacles like patios, fences, or trees. -
Avoid overhead runs if possible
If you must go overhead, use a 2.5 mm galvanized support wire and maintain at least 2.5 m clearance from the ground. -
For buried cables:
- Dig a trench about 600mm deep
- Lay 50 mm of sand at the bottom to cushion the cable
- Place PVC warning tape about 150 mm above the cable before backfilling - so you or anyone else finds it easily later.
-
Under decking or patios:
Use 25 mm rigid PVC conduit or galvanized trunking to protect the cable. Never bend a cable tighter than 12× its diameter - it can weaken and overheat. -
Install a weatherproof isolator switch
Fit an IP66-rated, double-pole, 32 A isolator near the oven so you can disconnect it easily in bad weather or emergencies. -
Think ahead
If you might add lighting, a fridge, or another appliance later, leave space for extra cables in the conduit. It’s much easier than digging again later.
Choosing the Right Cable Size for Your Pizza Oven Installation

Selecting the correct cable thickness ensures safety and performance.
-
Why it matters
A cable that’s too small overheats and can fail. A slightly thicker one stays cooler and lasts longer. - Use the correct size based on power:
-
Avoid aluminum cables.
Always use copper - it conducts better, resists corrosion, and handles heat cycles more reliably. -
Voltage drop check (for long runs)
A 2.5 mm² cable carrying 13 A over 15 m will lose around 3.5 V, which is acceptable but near the limit. A 4 mm² cable performs better, dropping only 2.3 V.
|
Oven Power |
Recommended Cable |
Breaker |
RCD |
|
Up to 3 kW |
2.5 mm² SWA |
20 A |
30 mA |
|
3–6 kW |
4 mm² SWA |
25–32 A |
30 mA |
|
Over 30 m run |
6 mm² SWA or split with junction box |
– |
– |
How to Wire an Outdoor Junction Box for a Pizza Oven

- Cut the steel armor cleanly using a rotary stripper or hacksaw.
- Fit the banjo washer and M8 bolt for grounding the armor.
- Remove 10–15 mm of insulation from each conductor.
- Feed cables through glands and tighten to around 3 Nm.
- Connect:
- Brown → Live (L)
- Blue → Neutral (N)
- Green/Yellow → Earth (E)
- Tighten terminal screws securely.
Testing Your Pizza Oven Wiring Before First Use

After wiring is complete (and ideally inspected by a professional), perform these checks on your oven:
-
Continuity Test
Ensure all connections are solid - multimeter should show under 1 Ω. -
Insulation Resistance Test
Using a 500 V insulation tester (“Megger”), readings should be above 1 MΩ between live and earth. -
RCD Test
Press the test button - it should trip within 200 ms. If not, replace it. -
Functional Test
Power on and let the oven heat up. A 3 kW unit should reach around 400 °C in 15 minutes. -
Temperature Check
Use an infrared thermometer: cables should stay below 30 °C above ambient temperature.
If you notice flickering, warmth in cables, or smell ozone, switch off immediately and get it checked.
Maintaining Outdoor Pizza Oven Wiring for Longevity

To keep your setup safe and long-lasting:
- Inspect every few months. Look for cracks, UV fading, or rodent damage on cables and junction boxes
- Protect against the elements. Use UV-resistant conduit or sleeves to prevent sun damage. Replace rubber gaskets when they dry or crack.
- Prevent corrosion. Apply a thin layer of zinc or dielectric grease on screws and terminals.
- Prepare for winter. Turn off power to the oven if it won’t be used for months, and cover it with a waterproof, breathable cover.
- Lightning protection (optional but smart). Install a 1.2 m copper earth rod bonded to the oven frame to safely redirect lightning surges.
- Stop pests. Wrap joints with rodent-resistant tape - capsaicin (chili-based) versions work especially well.
Enjoying Safe and Reliable Outdoor Pizza Oven Performance

Once everything is tested and secure:
- Your oven should heat consistently without tripping breakers.
- The cables should stay cool and dry.
- The RCD should trip instantly when tested.
Take pride in a setup that's both safe and efficient - one that delivers perfect pizzas and peace of mind.