


The Best Pizza Dough for Your Oven
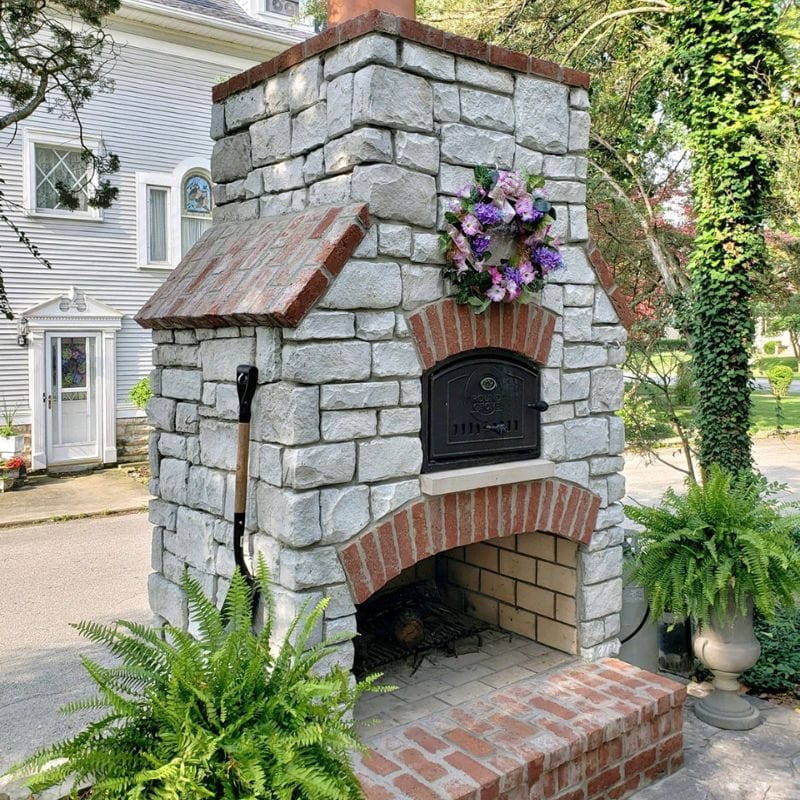
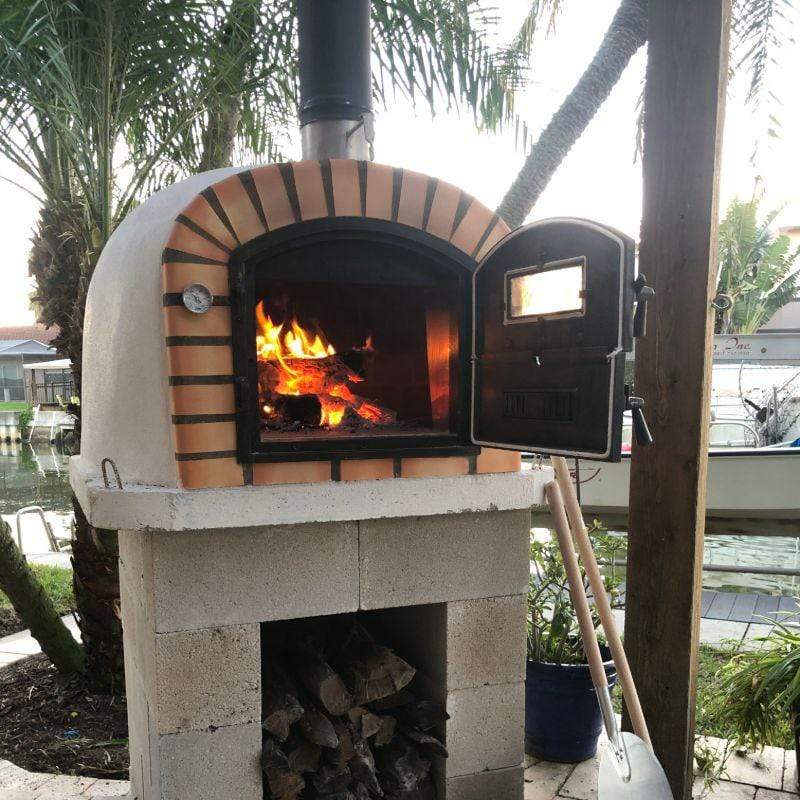
If you’ve been following our blog, a few things can probably be safely surmised. You either have your own wood-fired pizza oven already, or you’ve finished constructing one from our handy DIY kits and are now staring at it in your backyard, wondering what you’re actually going to cook in it. Thankfully, we have an answer to that question!
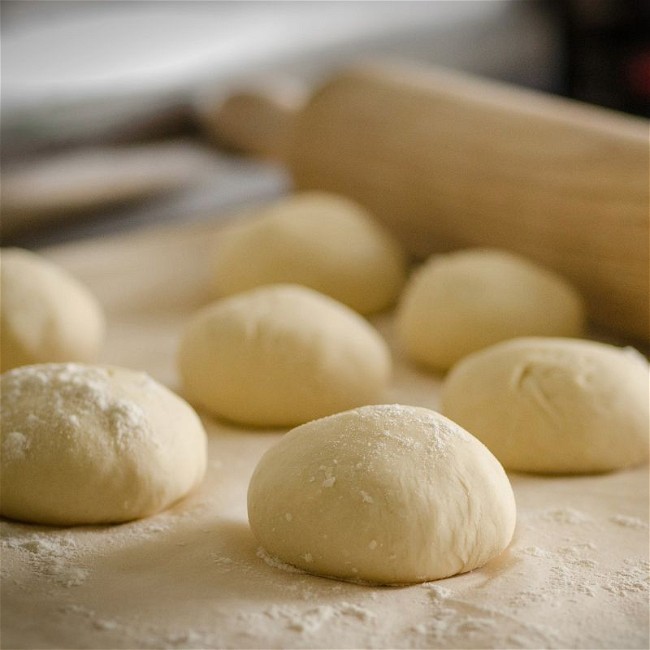
Pizza oven cooking is a culinary tradition that dates back to the 1700s in Naples, Italy, which means over 300 years of careful dedication to the craft has left us a treasure trove of practices and tips when it comes to baking the delicious dish. Just like your brick oven is built on a sturdy foundation of concrete, a perfect pizza is built on a foundation of great dough. Here’s some insight into how to make pizza dough, and a wood fired pizza dough recipe you can cook for yourself!
The three big names in pizza dough
Napa Flats put together a concise explanation of the main types of pizza dough you’ll see in restaurants and in recipes for home cooking. Here’s a summary of them:
Neapolitan
This is the quintessential pizza dough, named after the city of Naples. It’s a dough that bakes into a thin crust with a wide brim, and creates a crunchy, airy pie with a heritage that dates back centuries. It has a low moisture content, so it bakes fast; it also usually entails the use of a knife and fork to eat because of its thin crust.

New York
The New York slice is probably the most popular kind of dough, if you measure by simple volume of pizza eaten around the world. It has a little more moisture and is characteristically made with oil, giving it a thicker bottom crust. It can also fold in half without breaking!

Sicilian
Sicilian pies are very similar to the New York, but are made with much more water and are doused in oil before baking. The end result is that the dough fries in the bottom of the pan while rapidly expanding during the baking process, creating a thick slice capable of carrying a lot of toppings.

Importance of hydration and flour
All of the pizza dough varieties are united in their use of common ingredients, but the key factor that differentiates them is how much water is used when creating the dough. A drier dough is better for a thinner crust, but a wetter dough with the right treatment creates pan-style pizzas.
When making your own homemade pizza dough, you can experiment with how much water is used to create the dough right for you; a wetter dough also tends to be much easier to knead.
Pizza dough flour is also a very important consideration. The masters use Caputo 00 flour pizza dough,according to Saveur, because of 00 flour’s incredibly fine grind. This is the best flour for pizza dough because its grind gives pizza its characteristic softer center, but crunchier edges.
Making your own dough
For a slightly different recipe but equally simple pizza dough recipe, use the following to make your own awesome homemade pizza dough, and don’t be afraid to experiment with these ingredients! Modification to ratios can create different doughs, and who knows; you might go down in the pizza history books by inventing your own style of crust.
Looking for even more recipes? Click now to visit the Patio & Pizza Recipe Collection or get a copy of our 7 Days of Wood-Fired Oven Recipes ebook for more recipes for your pizza oven! Use the code EBOOK5 to take $5 off the Recipe Book's price.