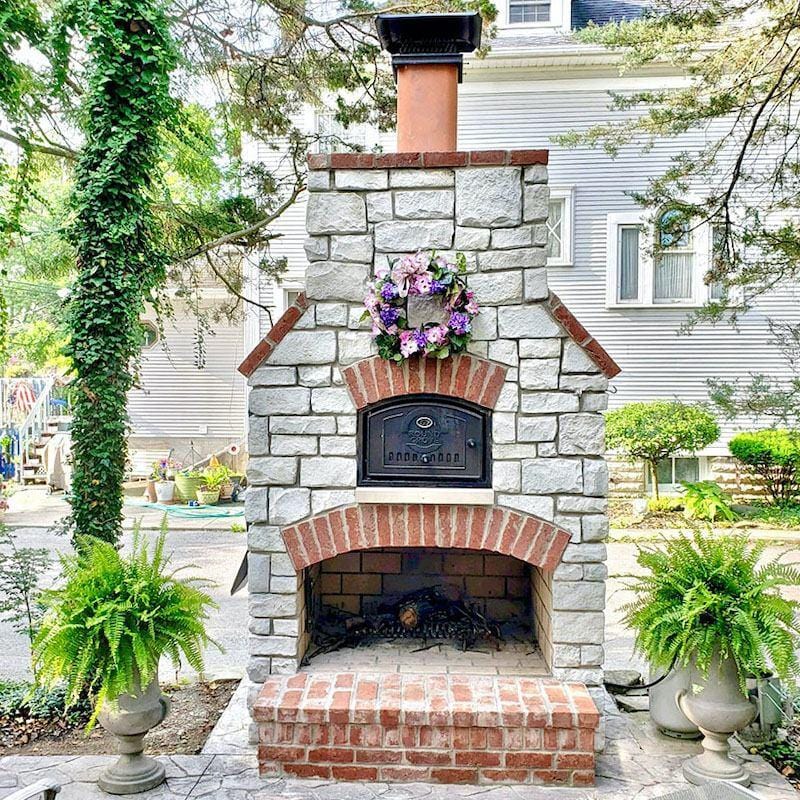
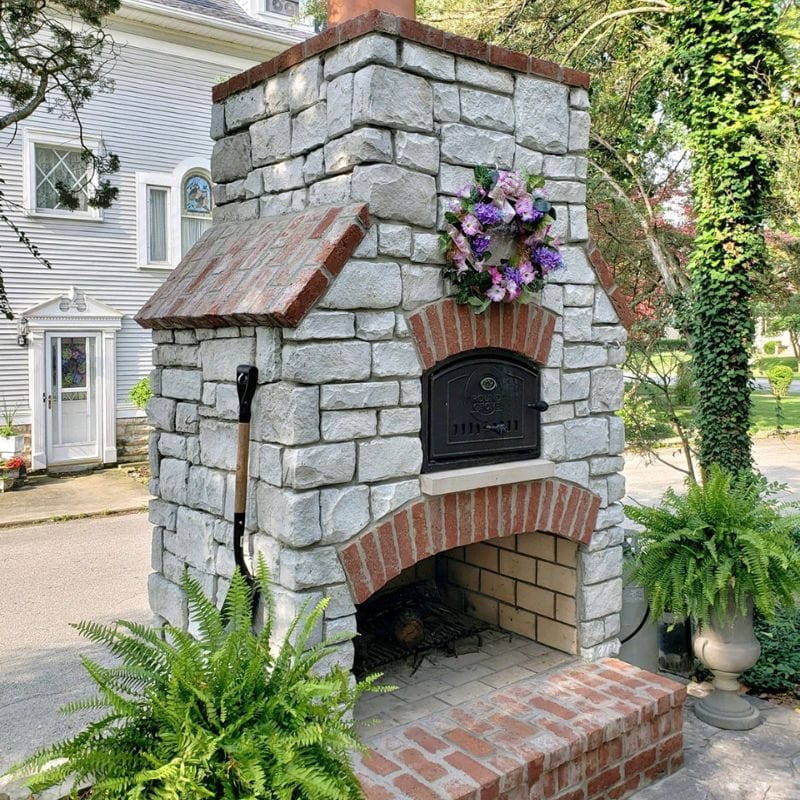
Building A Pizza Oven Base, The Right Way

You’ve finally decided that your backyard needs an authentic brick pizza oven. Great decision! Now, you need to build the base for your new feature!
Not to worry, however! While building an entire DIY pizza oven might be tedious, the base doesn't need to be. That’s why we’ve put together this helpful (but certainly not exhaustive!) guide towards constructing the oven’s most critical component: The base.
What you’ll need
Before jumping into this part of the project, you should take a quick inventory and then do some shopping to ensure you have the following materials:
- Concrete mix, for laying the initial foundation slab and mortar
- Gravel, as the foundation’s bottom layer
- Brick or other masonry, for the actual base
- Buckets, for mixing and digging
- Spirit level, to keep things evenly constructed
- A measuring stick, at least a yard
- Rebar (recommended)
- Paint, stain, or varnish (optional)
It’s important to remember that an outdoor oven will need a strong foundation and that skimping on concrete when constructing the base might mean foundational cracks due to weather fluctuation, or even the structure of the base being compromised due to insufficient mortar. Rebar is also a great addition to a foundation, extending its life and mitigating cracks.
Laying the foundation
When it’s finally time to break ground, dig out a base for your foundation. The depth of the pit will vary depending on the kind of soil that your home sits on; in general, a looser soil composition (like those of clay, peat, and sand) will require more depth.
Once your pit is dug, make sure it’s squared off on its corners, and then lay down a shallow layer of gravel on the bottom. If you’re building with rebar, this is where the grid would come in; if not, then just pour your concrete mix in and level it off at the top of the pit with a spirit level and a long, straight piece of wood. Let this foundation cure for at least 72 hours.
Building to height
After the foundation is cured, it’s time to start building up! When constructing the base itself, make sure to pay close attention to the width of each side, ensuring it is following your original plan and not expanding or shrinking as you add masonry.

Using small amounts of concrete as a mortar, join the masonry together at important stress points, seams, and edges. It’s up to you if you’d like to include more or less mortar for aesthetic purposes, but make sure that the amount used is sufficient to glue the brick together. Bear in mind also that the weight of your oven dome may necessitate using stronger material or more mortar. Leave the front empty for now.
The final height of the base can also be adjusted, typically according to the primary chef’s own height. Bases between 40" - 45" usually keep the oven’s door at a good height.
Adding Your Pizza Oven

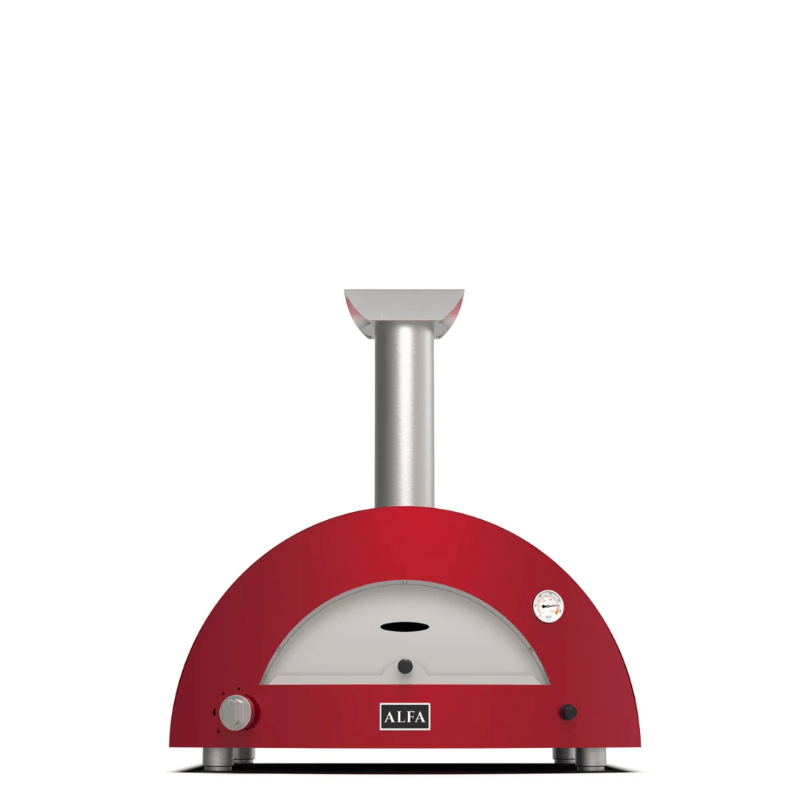
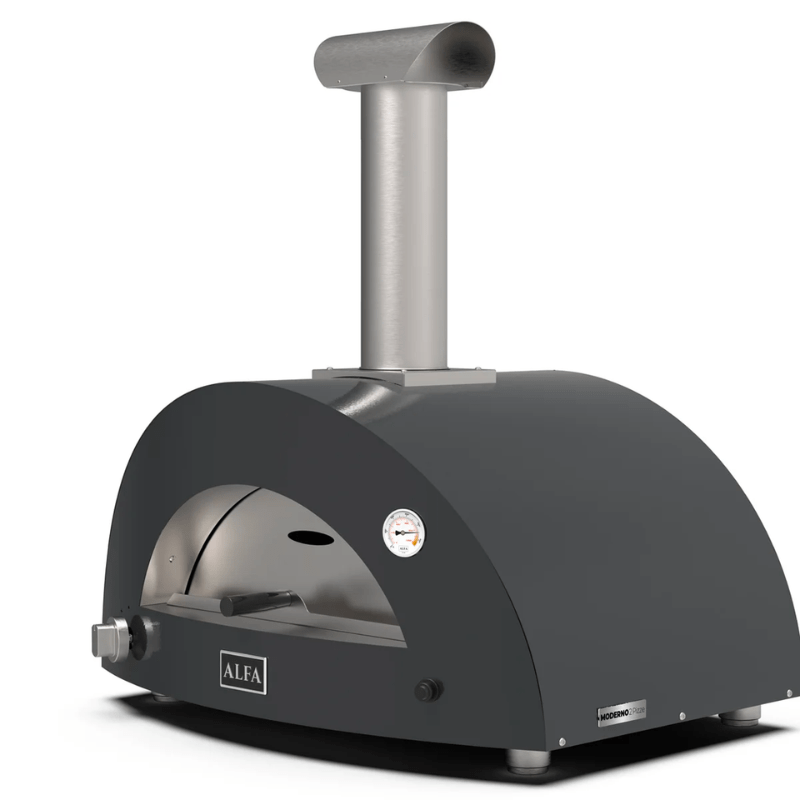
Once the base is complete and has cured for at least 72 hours since the last brick was laid, you’ll set your oven’s dome, whether it is prefabricated like the Maximus Prime Pizza Oven in the image or you’ll be constructing your own, to the top of the base. After your oven is ready, fire it up and start enjoying your new oven!
If you are building your own DIY pizza oven to put on your base, read our blog post on Building an Outdoor Pizza Oven now!
Click here to purchase the blueprints for this pizza oven stand.